How to Replace a Fuel Filter: Step-by-Step Guide

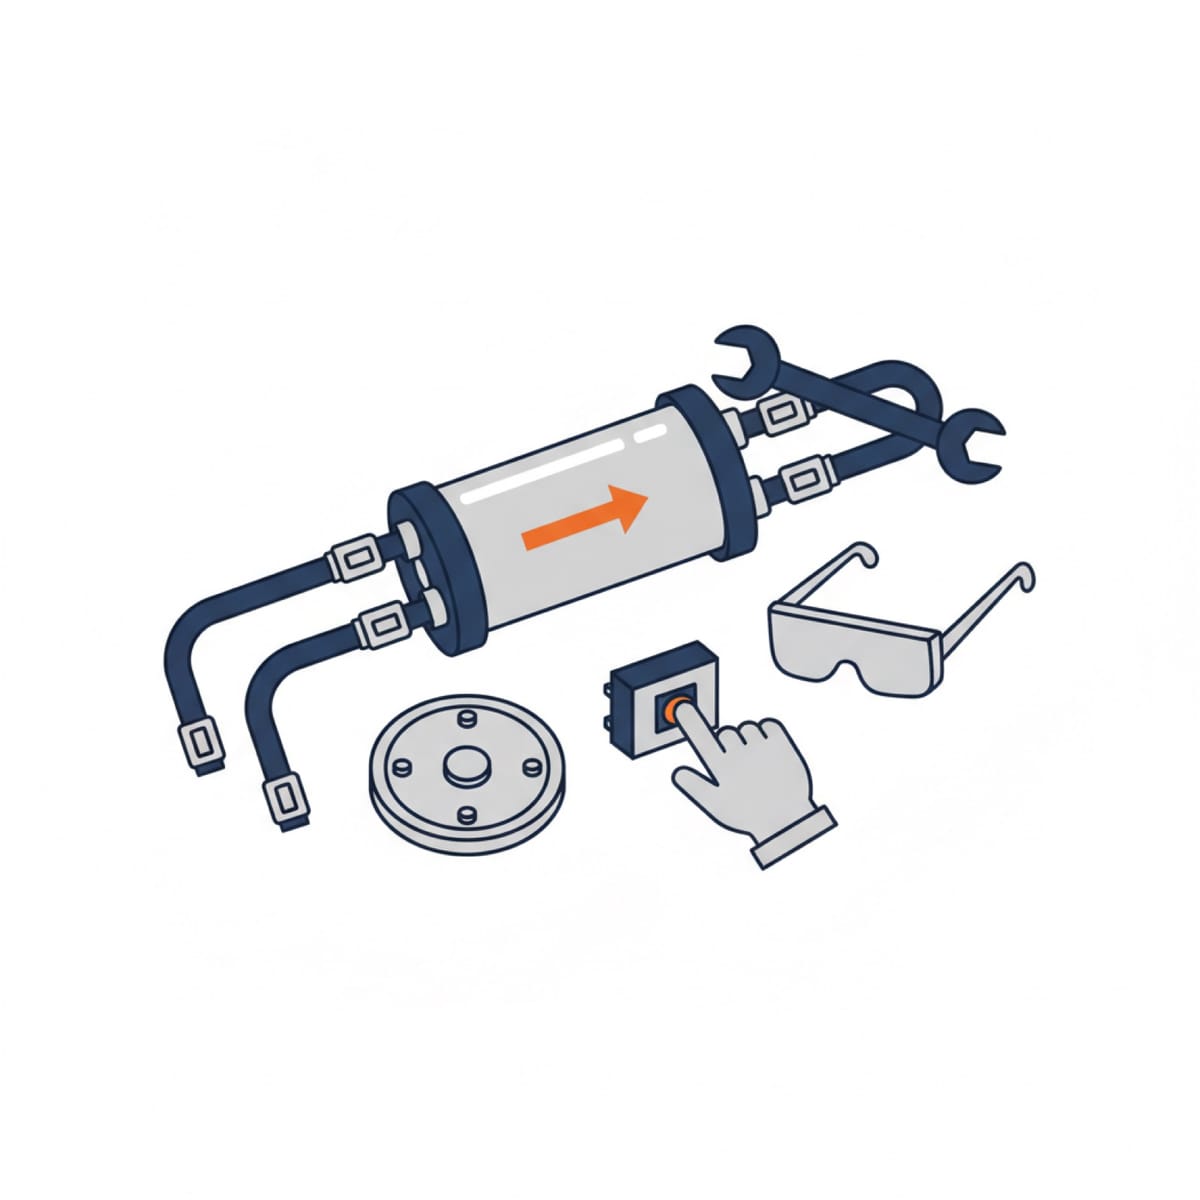
Replacing an inline fuel filter is a straightforward DIY job that takes 30 to 60 minutes and costs $10 to $30 in parts. The critical step is depressurizing the fuel system before you touch any lines. Skip that step and pressurized fuel will spray when you disconnect the first fitting.
What You Need Before You Start
Tools Required
- Floor jack and jack stands (or ramps if the filter is underneath the vehicle)
- Wrench set (8 mm to 19 mm)
- Fuel line disconnect tool set (spring-lock, quick-connect, or push-to-release style)
- Catch container or fuel-safe pan (at least 1 quart capacity)
- Rags or shop towels
- Safety glasses
- Nitrile gloves
Parts and Supplies
- Replacement fuel filter (match by year, make, model, and engine)
- Thread seal tape (for filters with threaded fittings)
- New sealing washers or O-rings if included with the filter or required by your fitment
Before You Buy the Filter
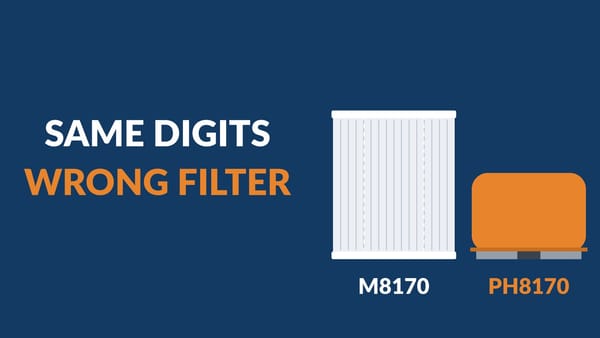
Check your owner's manual or a parts store lookup tool for the exact filter number. Bring your VIN to guarantee a correct fitment. Some vehicles use a filter that is integrated into the fuel pump module inside the tank. If that is the case for your vehicle, an inline filter replacement is not possible. You will need to address the pump module separately.


Safety First: Fuel System Pressure Relief
This is the most important step. Modern fuel-injected vehicles keep the fuel rail pressurized even with the engine off. Pressure on most systems runs between 35 and 65 PSI for port-injected engines, with performance builds pushing higher. Disconnect a line under that pressure and fuel sprays.
There are two reliable methods to relieve fuel pressure.


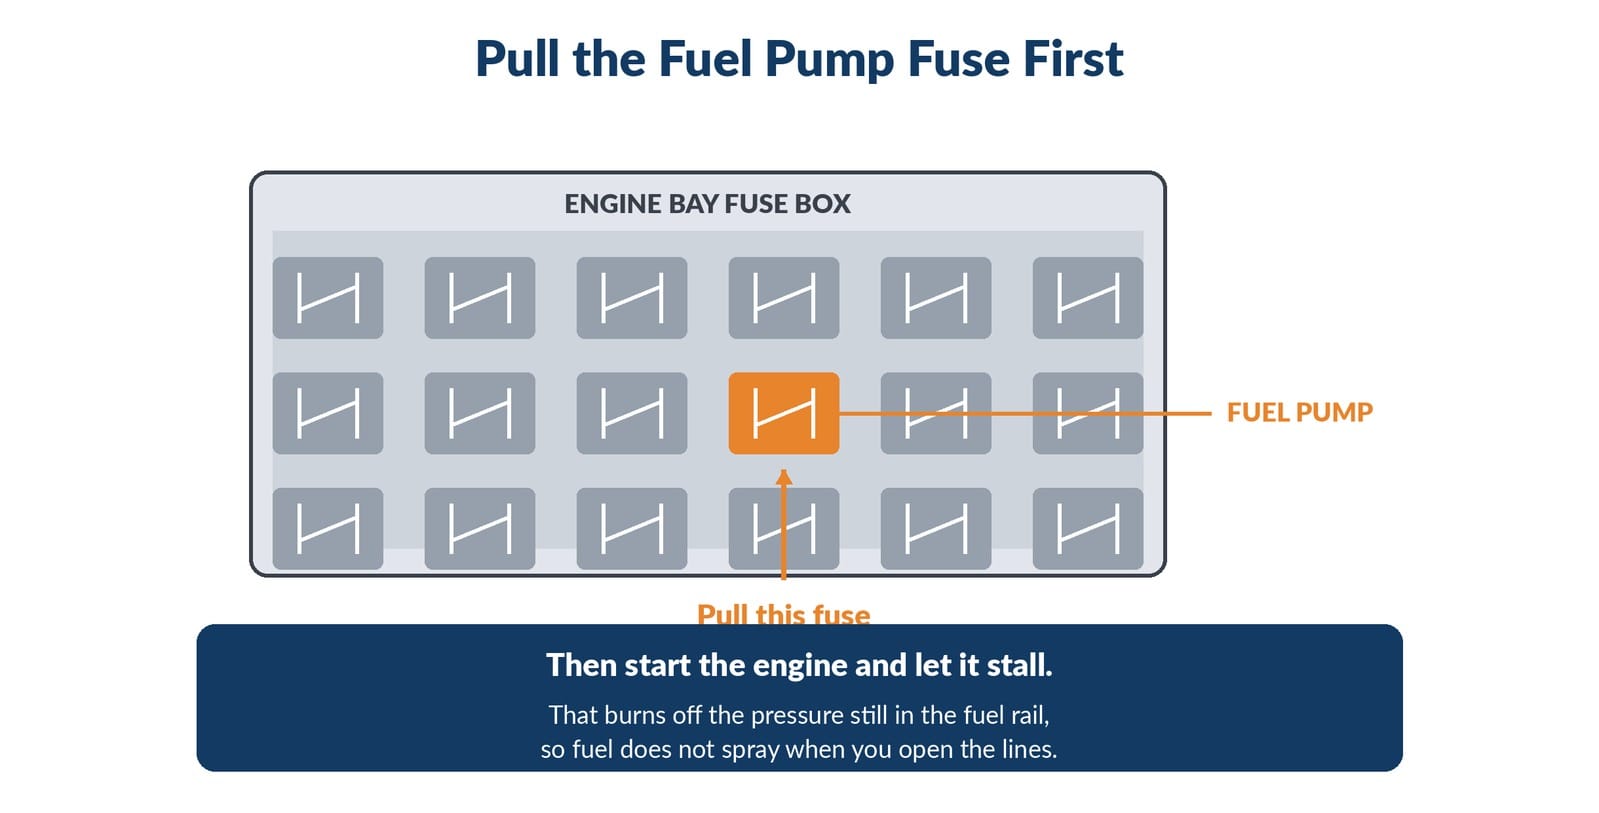
Method 1: Pull the Fuel Pump Fuse
- Locate the fuse box (usually in the engine bay or under the dashboard on the driver's side).
- Find the fuel pump fuse. Your owner's manual lists it by label.
- With the fuse pulled, start the engine and let it run until it stalls from fuel starvation. This typically takes 5 to 15 seconds.
- Crank the engine two more times for 3 seconds each. This clears residual pressure from the rail.
- Turn the ignition off. Reinstall the fuse. Do not start the engine again until the new filter is installed.
Method 2: Use the Schrader Valve (if equipped)
Some vehicles have a Schrader valve on the fuel rail, similar to a tire valve stem. Place a rag over it and depress the center pin with a small screwdriver. The rag catches the fuel that releases. Once pressure drops, no fuel flows.
Warning: Work in a well-ventilated area. No open flames. No smoking. Disconnect the negative battery terminal before you disconnect any fuel line. Fuel vapors are heavier than air and will pool at ground level.
How to Replace an Inline Fuel Filter
Inline filters sit in the fuel line between the tank and the engine. They are most common on vehicles from the 1980s through the mid-2000s. Many sit underneath the vehicle near the rear axle, in the engine bay mounted to the firewall, or along the frame rail.


Step 1: Locate the Filter
Consult your owner's manual or a vehicle-specific repair guide for the exact location. The filter is a small cylindrical canister with one fuel line going in and one going out.
Step 2: Relieve Fuel System Pressure
Follow one of the two methods described in the section above. Do this before touching any fittings.


Step 3: Position Your Catch Container
Slide the container under the filter before disconnecting anything. Even after pressure relief, the filter holds fuel and the lines will drain when disconnected.
Step 4: Disconnect the Fuel Lines
Fuel line connections come in several types.


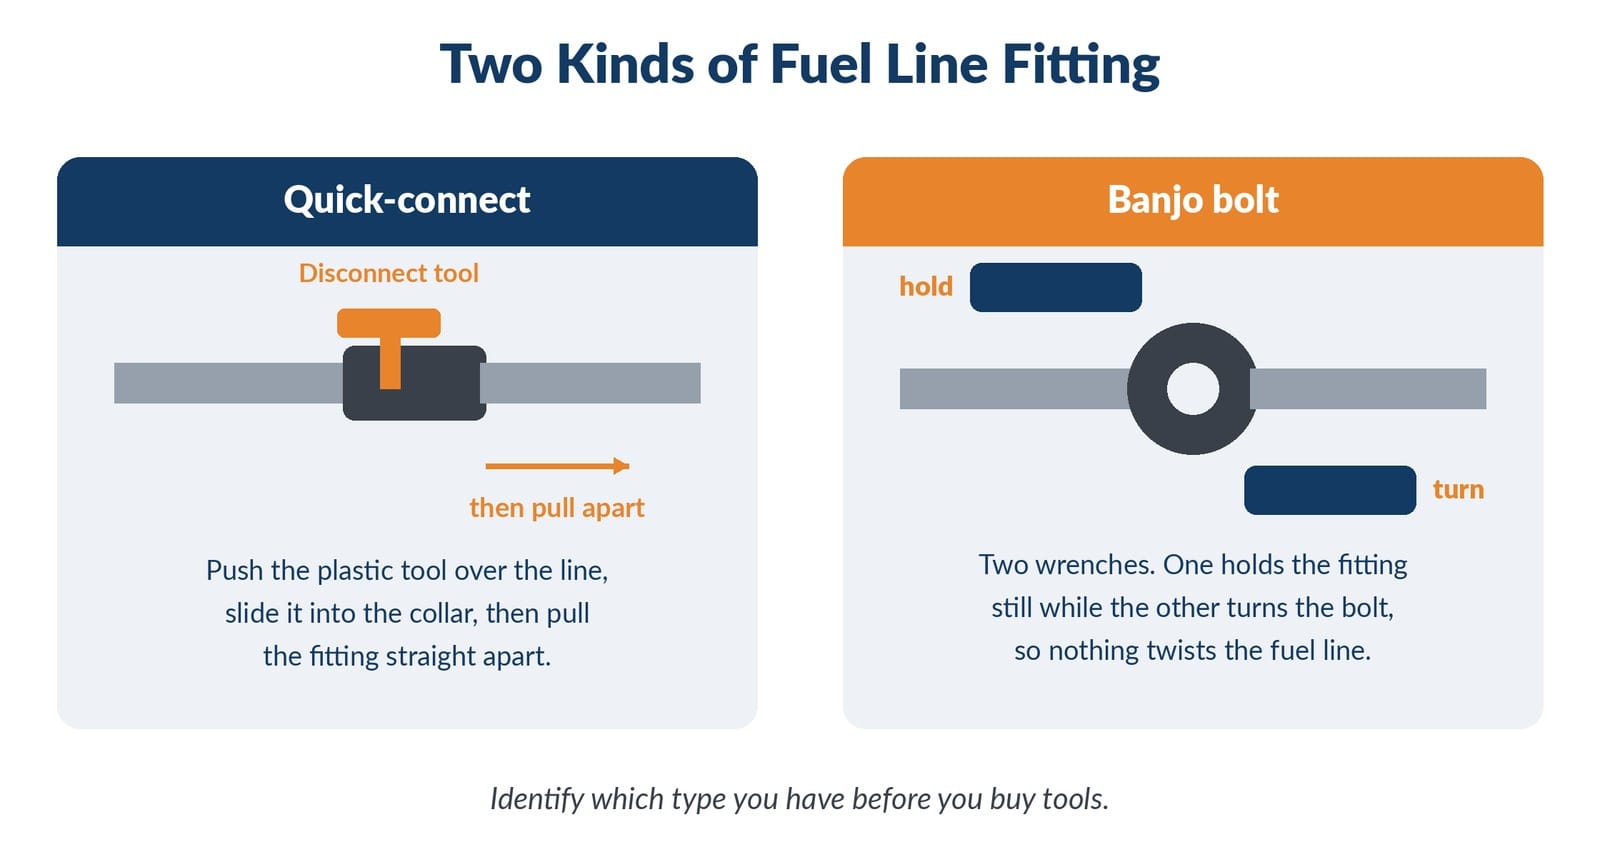
Quick-connect fittings: Slide the plastic disconnect tool over the line at the fitting. Push it in and pull the line straight back. You should hear a click as the tabs release.
Threaded fittings (banjo bolts or flare nuts): Hold the filter body steady with one wrench and loosen the fitting nut with a second wrench. Always use two wrenches. Using one wrench applies torque to the filter body and can twist or crack it.
Clamp-style hose connections (older vehicles): Slide the hose clamp back, then twist the hose gently while pulling. If the hose is stuck, work it loose with a rag for grip.
Disconnect the outlet side first (the line going toward the engine). Fuel pressure, if any residual remains, pushes toward the engine. Disconnecting the outlet side first lets pressure release forward rather than spraying back toward you.
Step 5: Remove the Old Filter
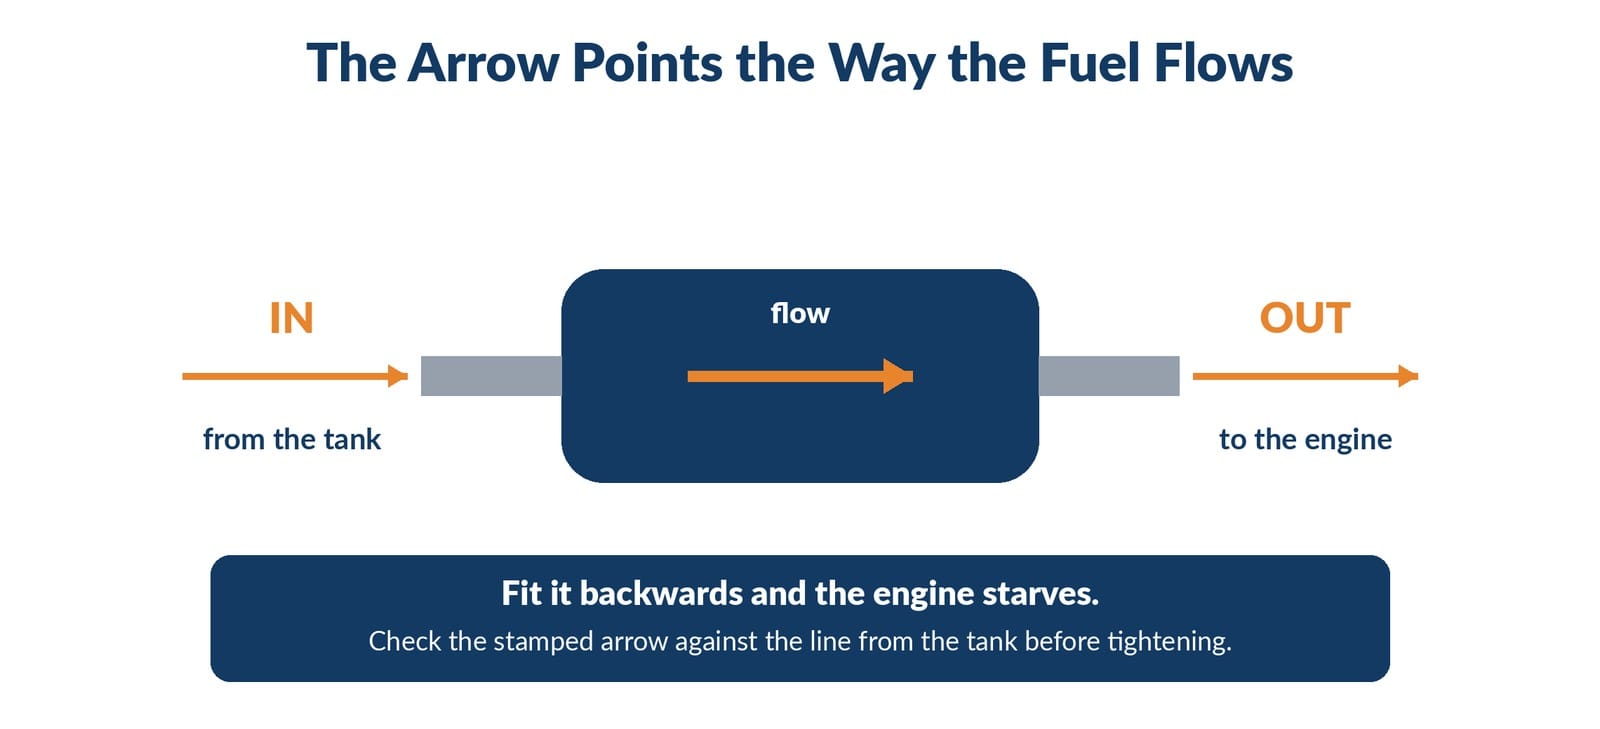
If the filter is bracket-mounted, loosen the bracket bolt. Slide the filter out of the bracket. Note the direction of flow before discarding the old filter. Most filters have an arrow or the words "IN" and "OUT" stamped on the body.
Step 6: Compare Old and New Filters
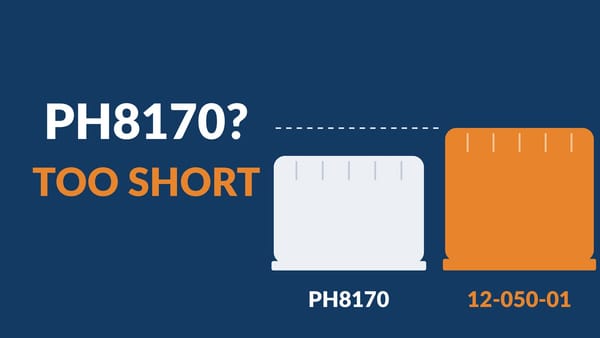
Hold the old and new filters side by side. They should be the same length and use the same fitting connections at each end. A mismatched filter is a return trip to the parts store.
Step 7: Install the New Filter
Match the flow direction arrow on the new filter to the flow direction on the old one. Fuel flows from the tank to the engine. Install the filter with the "OUT" or arrow side facing the engine.
Thread or push the inlet line (from the tank) onto the inlet port first. Then connect the outlet line (toward the engine). For threaded fittings, torque to the manufacturer specification. Most banjo bolt specs fall in the range of 20 to 25 Nm (15 to 18 ft-lb). Check your service manual for the exact figure.
For quick-connect fittings, push the line straight in until you hear and feel the retaining clip snap. Tug gently outward to confirm it is seated.
Step 8: Reinstall the Bracket
If the filter uses a mounting bracket, reinstall it with the bolt snug but not overtightened. The bracket holds the filter stable and prevents vibration fatigue on the lines.
Step 9: Prime the Fuel System
Turn the ignition to the ON position (not Start). You will hear the fuel pump run for about 2 to 3 seconds. Turn the key back to OFF. Repeat this 3 to 4 times. This primes the filter and fuel rail with fuel before you attempt to start the engine.
If you skip priming, the engine may crank for a long time before it starts. In some cases a single extended cranking cycle accomplishes the same thing, but key-cycling is gentler on the starter.
Step 10: Start the Engine and Check for Leaks
Start the engine and let it idle for 2 to 3 minutes. Walk around and visually inspect every fitting you touched. Look for:
- Dripping fuel
- Wet spots on the filter body or lines
- The smell of fuel under the hood
If you see any drip, shut the engine off immediately. Re-examine the connection and reseat or re-torque as needed.
How an In-Tank Filter Differs from an Inline Filter
Many vehicles built after the mid-2000s moved the fuel filter inside the fuel tank as part of the fuel pump module. Toyota, Honda, Ford, GM, and most European manufacturers adopted this design. The in-tank sock filter is a coarse screen rated in the range of 40 to 100 microns. Its job is to protect the pump from large debris, not to provide fine filtration.
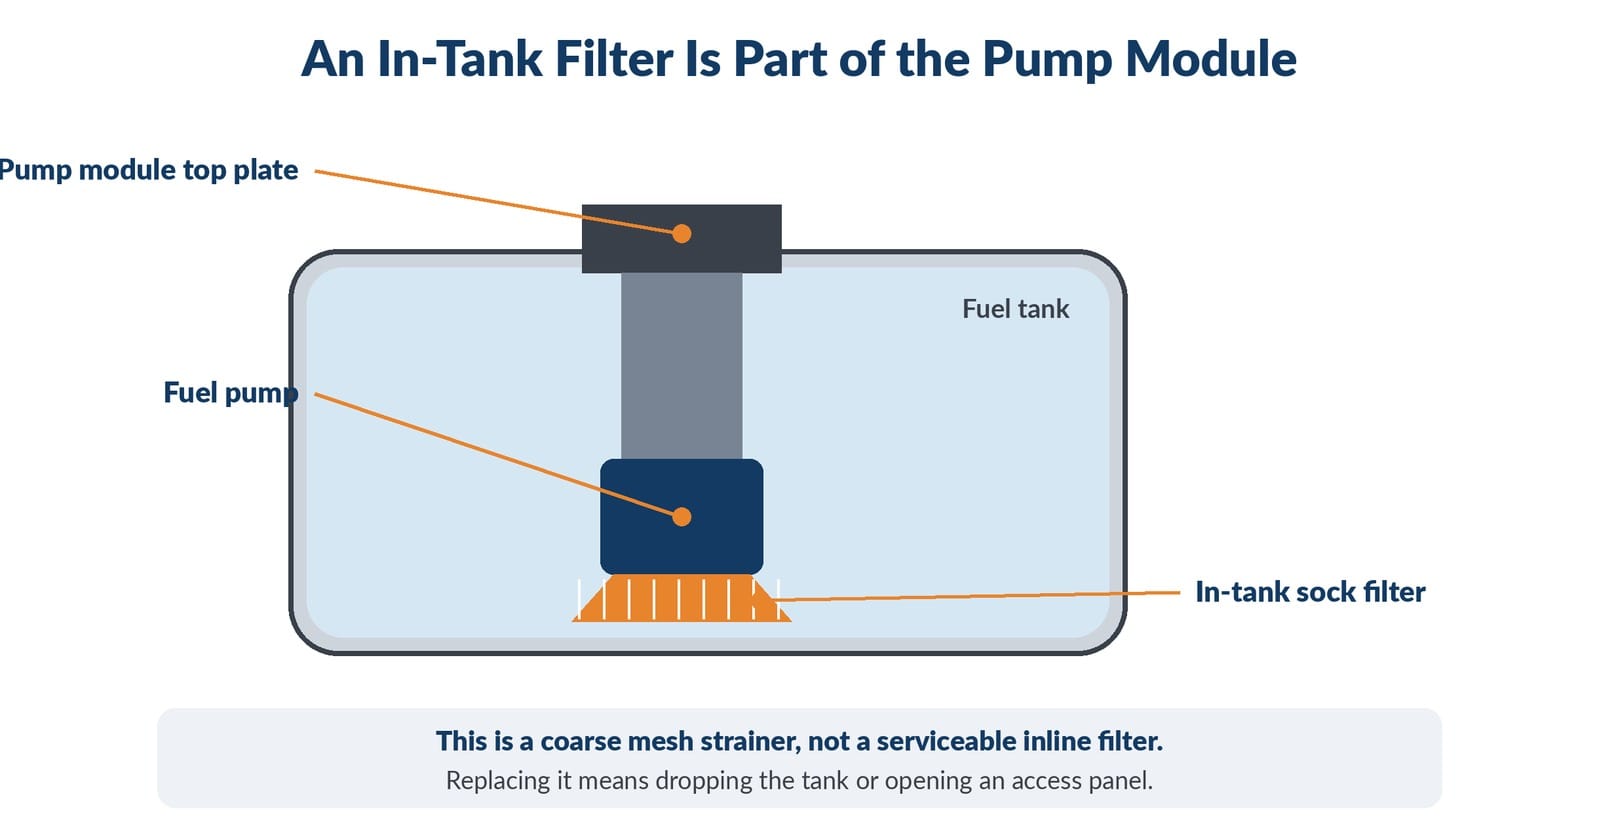
Most manufacturers consider the in-tank filter a lifetime component under normal conditions. It is not a scheduled service item. Replacing it requires dropping the fuel tank or removing an access panel under the rear seat (on some models) and removing the entire pump module.
If your vehicle has no inline filter, no separate fuel filter replacement interval in the owner's manual, and the parts store lookup shows no inline filter for your vehicle, you have an in-tank-only setup. In that case, fuel filter service means pump module service, not a standalone filter swap.
How Long Does Fuel Filter Replacement Take?
For a straightforward inline filter in an accessible location, the job takes 30 to 45 minutes for most DIYers. Awkward underbody locations or stubborn fittings can push this to 60 to 90 minutes.
A shop charges 0.5 to 1 hour of labor on most inline filter jobs. Labor rates vary by region, but $60 to $120 in labor is a typical range on top of the part cost.
What to Do If the Fittings Won't Budge
Old inline filters can seize. Threaded fittings corrode. Quick-connect clips break or freeze in place. Here are the practical solutions.
Seized threaded fittings: Apply penetrating oil to the threads. Wait 15 to 20 minutes. Use a proper flare nut wrench rather than open-end wrench. Flare nut wrenches grip more of the fitting's surface and reduce the risk of rounding it off.
Broken quick-connect clip: If the retaining clip breaks during removal, the new filter kit often includes a replacement clip. If not, aftermarket fuel line repair kits include replacement clips for common fitting sizes. Do not reinstall a line with a damaged or missing clip.
Corroded bracket bolt: Spray with penetrating oil, wait, and use a socket rather than a wrench for better torque control. If the bolt is too corroded to save, replace it with a matching stainless steel bolt.
FAQ
Can I replace a fuel filter without special tools? For most inline filters, you need only basic hand tools and a fuel line disconnect tool. Disconnect tool sets cost $10 to $20 at any parts store. Without the correct disconnect tool, you risk damaging the retaining clips and creating a leak point at the fitting.
How do I know if my car even has an inline fuel filter? Check your owner's manual under the scheduled maintenance section. If there is no fuel filter replacement interval listed, your vehicle likely uses an in-tank filter that is not a serviceable item. You can also enter your year, make, and model at any parts retailer to see whether a standalone inline filter is available.
What happens if I install the fuel filter backwards? The engine will run poorly or not at all. The filter media is layered to trap particles as fuel flows in a specific direction. Installing it backwards pushes filtered debris back into the fuel system and restricts flow. Always match the arrow or IN/OUT markings on the new filter to the direction fuel flows in your vehicle.
Do I need to replace the sealing washers when I change the fuel filter? Yes, if your filter uses banjo bolt connections with copper or aluminum crush washers, replace the washers every time. Reusing a crush washer risks a seep or drip at that joint. Many replacement filters include new washers in the packaging.
How long should a fuel filter last after replacement? For most gasoline vehicles with inline filters, the service interval runs 20,000 to 40,000 miles depending on the manufacturer. Diesel vehicles with external filters typically see 15,000 to 22,500 miles. Check your owner's manual for the exact interval and stick to it.
What to Do Next
If your old filter was severely clogged or the engine is still running rough after the replacement, read through the signs of a clogged fuel filter to see if there is a separate underlying issue. A new filter resolves flow restriction, but it does not fix a failing fuel pump or contaminated tank.